How Can You Fix Common Monitor Display Problems?
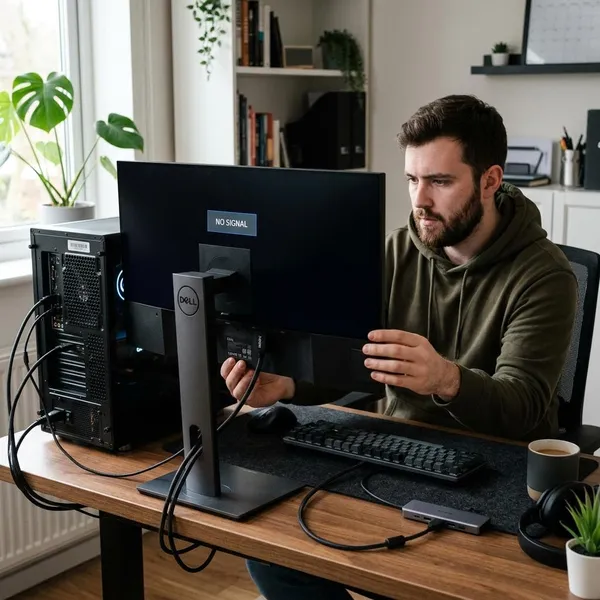
If your screen says no signal, goes black, flickers, looks blurry, or shows strange colors, do not start by assuming the monitor is dead. The fastest fix is to separate the problem into four possible sources: the monitor, the cable, the video output, or the computer settings. Start with the simple physical checks first, because a wrong input or weak cable can look exactly like a serious hardware failure.
How to Find the Source of the Display Problem
Troubleshooting gets easier when you test one part at a time. If you change the cable, switch ports, update drivers, and reboot all at once, you may fix the issue without knowing what caused it. A cleaner approach is to prove whether the monitor can show an image, whether the computer can send one, and whether the connection between them is stable.
Open the monitor menu to test the screen
Use the physical buttons or joystick on the monitor to open its on-screen menu. If that menu appears clearly, the backlight and panel are usually working well enough to show an image. That points you toward the cable, selected input, video output, or computer settings rather than a completely dead screen.
If the monitor menu will not appear at all, check the power cable, wall outlet, and monitor power button before going further. A screen with no menu and no status light is a different problem from a working monitor that simply is not receiving video.
Test the monitor with another device
Connect the monitor to a device you already know works, such as a laptop or game console. If the monitor shows that device normally, your original computer setup becomes the main suspect.
Test the computer with another monitor
Plug the computer into another monitor or a TV. If the second display works right away, the PC is at least producing a usable video signal, so the original monitor, cable, or input setting deserves closer attention.
If the second display also stays black, the problem is more likely on the computer side. For a desktop, make sure the cable is connected to the graphics card ports rather than the motherboard ports if a dedicated GPU is installed.
Replace the cable to rule out damage
A cable can be bad even when it looks normal. Bent connectors, tight desk setups, repeated unplugging, or a cable that is not suitable for a high resolution and refresh rate can cause dropouts, flickering, sparkles, wrong colors, or no signal errors.
Switch ports to check for a bad connection
Try another port on both ends if possible: a different HDMI port, DisplayPort instead of HDMI, or a direct USB-C display output instead of a dock. Ports can loosen, fail, or handle features differently.
For laptops connected through a hub or docking station, also test a direct cable from the laptop to the monitor. If the direct connection works, the dock or adapter is probably the weak point.
How to Fix No Signal or a Black Screen
A black screen can come from a dead display, but more often the monitor is powered on and waiting for a signal the computer is not sending correctly. The clue is when the black screen appears: before startup, after Windows loads, after sleep, or only after changing display settings.
Select the correct HDMI or DisplayPort input
Open the monitor menu and manually choose the input that matches your cable, such as HDMI 1, HDMI 2, DisplayPort, or USB-C. Auto-detect is convenient, but it can fail after sleep, after a device is unplugged, or when more than one source is connected.
Connect the cable to the active video output
On a desktop with a dedicated graphics card, the monitor cable usually needs to be plugged into the graphics card, not the motherboard video ports. The GPU ports are normally lower on the back of the case, grouped with the expansion slots.
If you recently moved the PC, cleaned behind the desk, or installed a new graphics card, this is worth checking before anything else. The computer may boot normally while the monitor shows nothing because the cable is connected to an inactive output.
Disconnect extra monitors, docks, and adapters
Strip the setup down to one monitor, one cable, and one direct connection to the computer. Remove docking stations, splitters, converters, capture devices, and secondary screens during testing.
- If the image returns: reconnect accessories one at a time until the failure comes back.
- If only the dock fails: test another port on the dock or reduce the display resolution and refresh rate.
- If a second monitor steals the image: adjust the display arrangement after you can see the desktop again.
Restart the graphics driver
If Windows seems to be running but the image is black, frozen, or stuck after waking from sleep, press Windows + Ctrl + Shift + B. Windows will try to restart the graphics driver, and the screen may blink or beep.
Boot in Safe Mode and undo display changes
Safe Mode is useful when the screen went black after changing resolution, refresh rate, HDR, scaling, or display arrangement. It loads Windows with basic display settings, which can bypass an unsupported mode.
Once you can see the desktop, undo the recent change first. For testing, choose a standard resolution supported by the monitor and a conservative refresh rate such as 60Hz, then restart normally.
Reinstall or roll back the graphics driver
If the monitor works in BIOS, startup screens, or Safe Mode but fails when Windows loads, the graphics driver is a strong suspect. Roll back if the issue started after an update; reinstall a stable driver if the problem appeared after crashes or system instability.
How to Fix Monitor Flickering and Screen Glitches
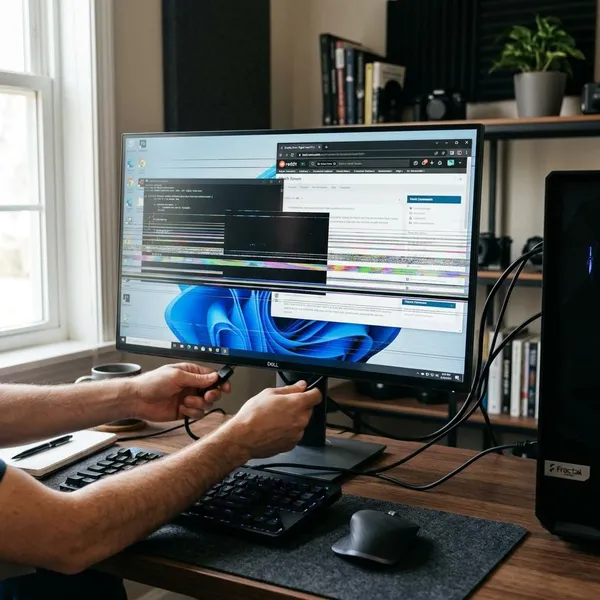
Flickering, flashing, colored blocks, random blackouts, and horizontal lines usually point to signal instability. The cause may be a cable that cannot handle the current settings, an aggressive refresh rate, a driver bug, HDR or adaptive sync behavior, or an unstable overclock.
Set a supported refresh rate
Make sure the refresh rate is actually supported by your monitor, cable, and port combination. A monitor may advertise 144Hz or 165Hz, but that top setting may require DisplayPort, a newer HDMI version, or a specific mode in the monitor menu.
If you are unsure, start at 60Hz and move up step by step. When the flicker returns at a higher setting, you have found a stability boundary instead of guessing blindly.
Lower the resolution or refresh rate for testing
Temporarily reduce the display load. For example, test 1440p at 60Hz instead of 144Hz, or 1080p instead of 4K. If the screen becomes stable, the monitor may be fine but the signal path is struggling.
Replace a damaged or low-bandwidth cable
Use a shorter, reliable cable and avoid adapters while testing. Flicker that appears as tiny sparkles, brief black screens, or random color noise is often cable-related.
With DisplayPort, check that the connector is fully seated. A slightly loose connection can create intermittent dropouts that look like a GPU fault.
Update or roll back the graphics driver
A driver can introduce flicker after a Windows update, a GPU driver update, or a new game profile. If the timing matches a recent update, rolling back may be smarter than installing the newest version again.
Download drivers from the GPU maker when possible, then test before reopening tuning tools or reconnecting extra displays. Keep the test simple so the result means something.
Test without HDR or adaptive sync
Turn off HDR, FreeSync, G-SYNC, or other adaptive sync options temporarily. These features can be useful, but they also add another handshake between the GPU and monitor.
Remove GPU and monitor overclocks
Return the graphics card and monitor to stock settings. Overclocks can pass a benchmark but still cause display artifacts, signal loss, or flicker during ordinary use.
If a monitor reaches its highest refresh rate only through an overclock mode, test the next normal setting down. A stable 144Hz picture is usually better than an unreliable 165Hz mode that drops signal at random.
How to Fix a Blurry Screen or Wrong Colors
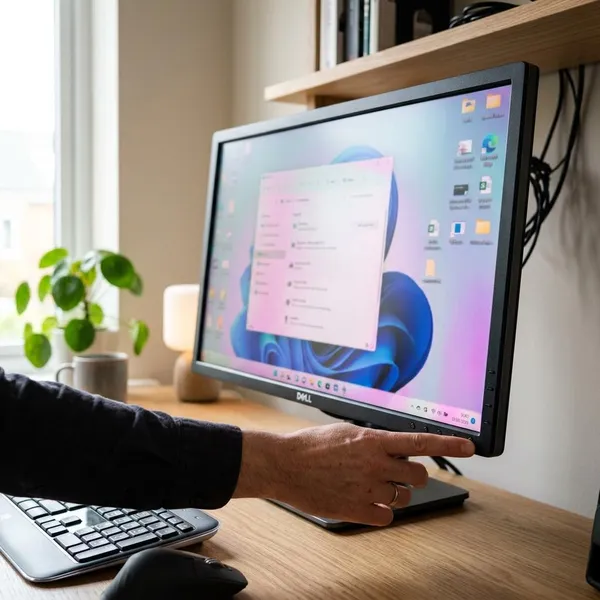
Blurry text and odd colors are usually settings problems before they are hardware failures. The first thing to check is whether the monitor is running at its native resolution. After that, look at scaling, picture presets, HDR, color profiles, and finally the cable if the image is distorted rather than merely soft.
Use the monitor's native resolution
Set the display to the resolution marked as recommended by the operating system. For common monitors, that may be 1920x1080, 2560x1440, or 3840x2160, but the correct value depends on the actual panel.
LCD monitors look sharpest when the signal matches their physical pixel grid. Running below native resolution can make text, icons, and browser pages look soft even though nothing is broken.
Reset display scaling and text settings
If the resolution is correct but text still looks fuzzy, check display scaling, text size, accessibility settings, and ClearType or font smoothing options. Use the recommended scaling value first, then adjust only if the text is too small to read comfortably.
This is common on mixed monitor setups. A laptop screen and an external monitor may need different scaling, and moving apps between them can make older programs look blurry until the scaling behavior is corrected.
Reset the monitor picture settings
Reset the monitor's picture mode if the image looks too blue, too yellow, overly sharp, washed out, or cartoonishly saturated. Gaming, movie, vivid, low-blue-light, and dynamic contrast modes can all change the image more than expected.
- For office work: try Standard or sRGB if available.
- For photo work: avoid vivid modes unless you have calibrated the display.
- For text clarity: keep sharpness near the default; too much can create halos.
Check HDR and color profile settings
Turn HDR off temporarily and compare the desktop. On some monitors, especially basic HDR models, normal SDR content can look gray, dim, or uneven with HDR enabled.
Also check the active color profile in your operating system. If colors changed after installing calibration, printer, photo, or GPU software, remove custom profiles for testing and return to the default monitor profile.
Replace the cable if the image remains distorted
If the screen shows sparkles, random tinting, noise, or intermittent distortion after settings have been checked, test another cable and skip adapters if possible. A weak signal can look like a failing panel.
Conclusion
The best way to fix display trouble is to avoid guessing: prove the monitor can show its own menu, test another device, swap the cable, and simplify the connection before touching deeper software settings. If the problem only appears at high refresh rates, during gaming, after sleep, or after enabling HDR, treat it as a settings or signal-stability issue first. When the same fault follows the monitor across different devices and cables, then it is time to suspect the display hardware itself.
FAQS
Why does my monitor lose signal while gaming?
Gaming puts extra load on the GPU and pushes more data through the cable, so weak cables, high refresh settings, unstable overclocks, heat, or driver bugs show up faster. Test by lowering the refresh rate, removing overclocks, and using a direct known-good cable.
Can a bad power supply cause a monitor to show no signal?
Yes, but it is not the first thing to blame. Suspect the power supply more if the PC restarts, shuts off under load, or the graphics card seems unstable; otherwise check the input, cable, GPU port, and driver first.
Why does my monitor keep going to sleep?
The monitor usually sleeps because it no longer detects a video signal. Check the selected input, cable fit, sleep settings, and whether the computer is actually waking up; if it happens mainly through a dock, test a direct connection.